Your Ultimate Guide to Using Google Maps Route Planner
In this fast-paced, busy world, everyone is in pursuit of effective planning tools to make the most of their time and money. Together with others, route planning tools have also captured the attention of millions of people out there. They not only help you get straight to your destination but also enable you to skip getting stuck in long traffic queues. Yes, folks, you can save loads of your time!
Several tools are available to help you with effective and time-saving route planning. However, we all know what the best one is! You guessed it right, Google Maps Route Planner! With over 154.4 million monthly users, it has become a leading tool used worldwide. According to a survey in 2018, 67% of users who rely on mapping apps use Google Maps.
In this article, we have described all you should know about using Google Maps Route Planner, from its benefits and drawbacks to detailed guides on using its features. Without further ado, let’s dive right into it!
What Is Google Maps Route Planner?
- Assist in better trip planning
- Reduces the transportation costs
- Offers excellent customer service
- Helps increase safety
- Aids in boosting productivity
- Easy-to-read maps
- Distance and time calculator
- Customizable directions
- Turn-by-turn directions
- Traffic updates
Notable Benefits of Using Google Maps Route Planner
Multiple Modes of Transport
Info about Traffic Congestion
Voice Directions
Allows Adding Points of Interest
Street View
Offline Access to Maps
Broad Compatibility
Multiple Route Options
Quick Adjustment
Allows Sharing Your Route Information
Cost-Effective Fuel Consumption
All in All, Free!
You can use Google Maps to get directions as your route or trip planner for free. It doesn’t even charge a penny for giving you access to its worth appreciable feature, nor does it includes in-app purchases.
You must be wondering how revenue is generated, then. Alphabet and Google earn from the data users input instead of getting money. This data is monetized as a constituent of its business pool, generating revenue via income streams like ads.
Downsides of Using Google Maps Route Planner
- Limited Stops – You can only plan a route with a maximum of nine stops.
- Loads Slowly – Some users have reported that Google Maps loads slowly, specifically when using a mobile data connection.
- Traffic Congestion – It does provide information about traffic congestion, but it might not be up-to-date. However, you can expect to get stuck in traffic.
- Difficult to Navigate – Are you unfamiliar with physical maps? It can be difficult for you to navigate Google Maps.
- Privacy Concerns – It provides no data privacy.
- Less Optimization – Routes mapped via Google Maps are not fully optimized as certain factors count, including the breaks taken by drivers and the load capacities of the vehicles.
- Doesn’t Enable Setting Priorities – If you are using this service for delivering packages, remember Google Maps doesn’t allow you to set priority deliveries.
- Trickier to Use – It may be easy to use for planning casual drives, but if you are using it to plan a route with multiple stops, it may become a bit trickier to use.
- Error in Information – Google Maps information is expected to have errors, as sometimes it may lead you to a route that doesn’t actually take you to your destination.
- Inaccessibility of Remote Locations – You may not find some remote locations on Google Maps.
- Used by Burglars – Some burglars can also use street view and satellite images to get info about the houses that are easy to break into.
- Offensive Material – Some street view cameras have also captured offensive material like criminal activities.
The Basics of Route Planning
Before stepping into the details of using Google Maps Route Planner, let’s first learn what route planning is and its basics.
Route planning refers to analyzing the most efficient routes to access multiple termini. Transportation companies widely use this technique to explore the best routes for their riders, ensuring minimal fuel consumption and quick service.
Now it has spread its use! From travelers to locals, everyone is getting assistance from route planning tools in one way or another.
Google Maps Route Planner enables users to plan their routes for either business or personal purposes. It suits best for the latter ones; you can get any other robust routing software or app if you are mainly concerned with enhancing your business’ productivity and managing it better.
When Can You Use Google Maps Route Planner?
Google Maps can plan all kinds of routes, from simple to complicated and short to long. It also helps you figure out the best way to explore all the top attractions of your destination.
Whether you want to make the most of your dream excursion or make your daily commute less frustrating, Google Map Route Planner has got you covered! Wondering how? By enabling you to skip wasting time being stuck in traffic or wandering in search of the right route to the landmark, you wish to explore.
However, due to its drawbacks, it may not work well as a route planner in some cases. Below we have mentioned the scenarios when you can effectively use Google Maps as your ultimate route planner. Let’s have a look at them!
If you are planning a road trip with minimal stops, Google Maps is your best bet. It not only gives you directions but also provides information about your points of interest.
Do you run errands for your company? Make Google Maps Route Planner your buddy! Just add addresses to your Google Maps app or browser and receive immediate directions.
Usually, sales agents have to visit dozens of clients, yet when they have to attend to fewer clients, Google Maps Route Planner is their go-to for planning routes. It also enables you to keep notes about certain customers.
How to Use Google Maps Route Planner on Mobile?
Step 1: Download Google Maps on Your Mobile
Step 2: Hit Directions Button
Step 3: Select Your Transport Method
Step 4: Insert Addresses
Step 5: Add Info about Your Stops
Step 6: Reorder Your Route
Step 7: Share Your Route
How to Use Google Maps Route Planner on Web Browser?
Step 1: Launch the Google Maps in Your Browser
Turn ON your laptop or desktop and ensure it’s connected to a stable internet connection. After refreshing a few times, launch your browser, and go to Google Maps page by typing https://www.google.com/maps in the Search Box.
Step 2: Hit the Directions Icon
Step 3: Choose Your Transportation Method
Step 4: Insert Addresses
Move on with adding your current location and final destination. You can opt for three methods for adding these. These are:
- Click on your desired location on the map.
- Select any address or location from the recent searches. Have you saved your Home location in Google Maps? You can get directions from your current location to your home just by choosing “route me home from my current location.”
- Type your addresses in the search bar.
Step 5: Add Your Stops
Step 6: Rearrange Your Route
Step 7: Share or Print Your Route
How to Use Google Maps as a Trip Planner and Make Your Itinerary?
Besides using Google Maps as a route planner, you can also use it as a trip planner and make your entire itinerary with it. Being a business directory, GPS, and review platform, Google Maps is an all-in-one tool. For this reason, it has become a crucial part of every trip. However, most travelers are still unaware of the advantages they can take from Google Maps and its endlessly helpful features.
In this section of the article, we will take you through how you can make the most of your next vacation trip by integrating Google Maps. Hop on below to learn about the different features of Google Maps and the guides on using them.
Save Points of Interest with Places Feature
Came across a cute coffee shop when wandering the streets of your dream destination but don’t have enough time to visit it? Google Maps Places feature has got you covered! Utilizing it, you can save the spot on the map and add it to a list you can conveniently access later.
Here is how you can do so on Google Maps app or browser.
Step 1: Search for the Location to Save
Step 2: Click on Save Icon
Step 3: Pick the List
Step 4: Find Your Saved Location
Once you are done with saving the location, you can easily find it by opening the list. To do so on the mobile app, simply hit the Saved option on the screen’s bottom. While on a Web browser, you can find your list by clicking the three stacked lines at the top-left of the screen and then choosing Your places.
Just tap on your saved location in the list, and the map will automatically jump straight to it.
Share Your Road Trip Plans by Making a Custom My Maps Page
Step 1: Go to My Maps Homepage
Go to your browser and visit My Maps homepage by typing https://www.google.com/maps/d/u/0/ in the Search Bar. On reaching the site, click Create a New Map.
Step 2: Name Your Map
Step 3: Add Locations to Map
Step 4: Add Multiple Lists to the Map
Step 5: Add Directions
Step 6: Share Your Map
Find Best-Of-The-Best Shops by Having a Look at Google Reviews
Almost every point of interest on Google boasts a section for User Reviews. These prove helpful in deciding what you should not miss and what you can.
Here is how you can check reviews for a certain point of interest.
Step 1: Find the Location
Step 2: Move to the Review Section
How to Use Eco-Friendly Routing on Google Maps?
As we know, vehicle’s fuel consumption is increasing daily, and the authorities are intensely stressing on minimizing it and shifting toward eco-friendly means. Google Maps Route Planner also helps in this regard!
If you have turned this feature ON, the map will keep it on preference, forgetting other factors like road conditions, etc., when choosing the most efficient route. The efficient route is not always the fastest, so Google Maps shows a green leaf on the most efficient route, even if the feature is turned OFF.
Engine Types
When choosing the Engine Type, you will see three options:
- Go with the Electric option if you drive a plug-in hybrid that often runs on electricity or an EV.
- Choose Hybrid if you drive a plug-in hybrid that often uses fuel or hybrid.
- Select Gas or Diesel if you drive a vehicle with an internal combustion engine.
Here is how you can achieve eco-friendly routing with the one and only Google Maps Route Planner.
Step 1: Go to Navigation Settings
Step 2: Scroll to Route Options
Alternative Way
How Can You Use Google Maps with Google Assistance?
Google Assistant's Driving Mode
Google Assistant Driving Mode enables you to perform different actions like making calls, sending and reading messages, and more with your voice on the go.
Following are the system requirements for using this feature on Android:
- Android version 9.0 or above
- Portrait mode only
- At least 4GB RAM or more
- You must be in the United States, United Kingdom, France, Canada, Germany, Australia, Spain, Mexico, Italy, or India.
How to Turn ON/OFF Driving Mode in Google Maps?
- Unlock your Android tablet or phone and go to Google Maps app.
- Tap on your profile picture to go to Settings.
- Browse for Navigation Settings and select it.
- Proceed with tapping on Google Assistant settings.
- Here, you can turn ON or OFF Google Assistant’s Driving Mode.
Step-By-Step Guide on Using Google Assistance for Navigation
Talk to Your Google Assistant on Android
- Grab your Android tablet or phone and go to Google Maps. If you are using Google Assistant for the first time, you must set it up first.
- The next step is to navigate to a place. You can navigate home by saying, “Ok, Google, navigate home.”
- An alternative way is to tap the microphone icon or say “Ok Google” in the navigation mode.
- Now, you can ask your Google Assistant for any kind of help.
Talk to Your Google Assistant on iPhone & iPad
- Unlock your device and launch the Google Maps app.
- Navigate to your desired place.
- Hit the microphone icon and ask Google Assistant to do whatever you want.
How to Use Apple CarPlay to Find Stops on Your Route?
Step 1: Navigate to Your Desired Place
Step 2: Find Stops
When done, tap anywhere on your screen to show the menu bar. Select Add stop and choose your desired stop from the options popping up; Coffee shops, Gas stations, Grocery stores, and restaurants.
You can also search for a stop by hitting the Search icon and finding specific places like McDonald’s, drugstores, etc.
Step 3: Cycle between Stops
Cycle between several stops by tapping Next or Before to find one of your choices. Note one thing the navigation arrows show up only when there is more than one stop on your way.
Once found, hit Add stop to add that particular stop to your route.
Tip: If you want to remove any of your added stops, navigate to the top right corner, tap Exit, and select Remove stop.
How to Find Parking Spots on Your Route?
Before getting on your route, you can search for different places to park. You can also save these locations to find them later conveniently.
Note:
- This feature is accessible only in some cities in the US.
- You can’t find places to park on the computer and desktop.
- You can’t find places to park on iPad and iPhone.
Adding a Parking Spot to Your Route on Android
Step 1: Search for the Destination
Step 2: Find a Parking Spot
Step 3: Add Parking Spot
Step 4: Save Parking Slot
Save Your Parking Location on iPhone or iPad.
Step 1: Setting Location Service to Always
Google Maps can save your location only if your location service is set to Always. Follow the steps to learn how you can do so.
- Go to Settings > Privacy > Location Services.
- Ensure that Location Service is ON on your device.
- Scroll down a bit to find Google Maps.
- Once found, tap on it and choose Always. This option will enable the app to access your location even when the app is running in the background.
Step 2: Keep a Note of Your Physical Activity
If you allow Google Maps to keep a note of your physical activity, it will automatically remember where you have parked your car.
- After navigating to a specific place, turn on Know where you parked by tapping on the option at the bottom.
- Permit Google Maps to keep data of your Motion and Fitness Activity.
- When you stop moving, you will see your current parking location tagged as You parked near here.
Step 3: Connect Your Car with Your Device
Connecting Via Bluetooth
- Turn Bluetooth ON on your mobile phone or tablet.
- Proceed with pairing your car with the device.
- Lastly, set up the source of your car’s audio system to Bluetooth.
Connecting Via USB
Simply plug your mobile or tablet into your car via a USB cord.Step 4: Set Your Parking Location
How to Get Traffic Information on Google Maps?
Step 1: Tap Go
Step 2: Choose Your Trip
Step 3: Find Info
In the Go tab, you will find all the info about the expected traffic delays along your way due to construction work, alternate and recommended routes, and the time needed to reach suggested destinations.
When checking traffic, you will also find information about different events; concerts, sporting events, marathons, and parades that can cause traffic congestion on your route. Moreover, on event day, you will get notified about closures, delays, traffic conditions, and alternate routes.
FAQs
Google Maps Route Planner uses data from the European Environment Agency and insights from the US Department of Energy’s National Renewable Energy Laboratory to calculate fuel efficiency accurately. This calculation is based on several factors, including:
- Road types like highways and local roads
- The steepness of hills on your route
- Average energy or fuel consumption for your region’s vehicles
- Carbon dioxide emission
- Stop-and-go traffic patterns
If the most efficient route has relatively the same time as the fastest route, Google Maps Route Planner will show the former. However, if the span lags or leads significantly, you will see several routes with relative fuel or energy savings between routes to assist you in comparing them.
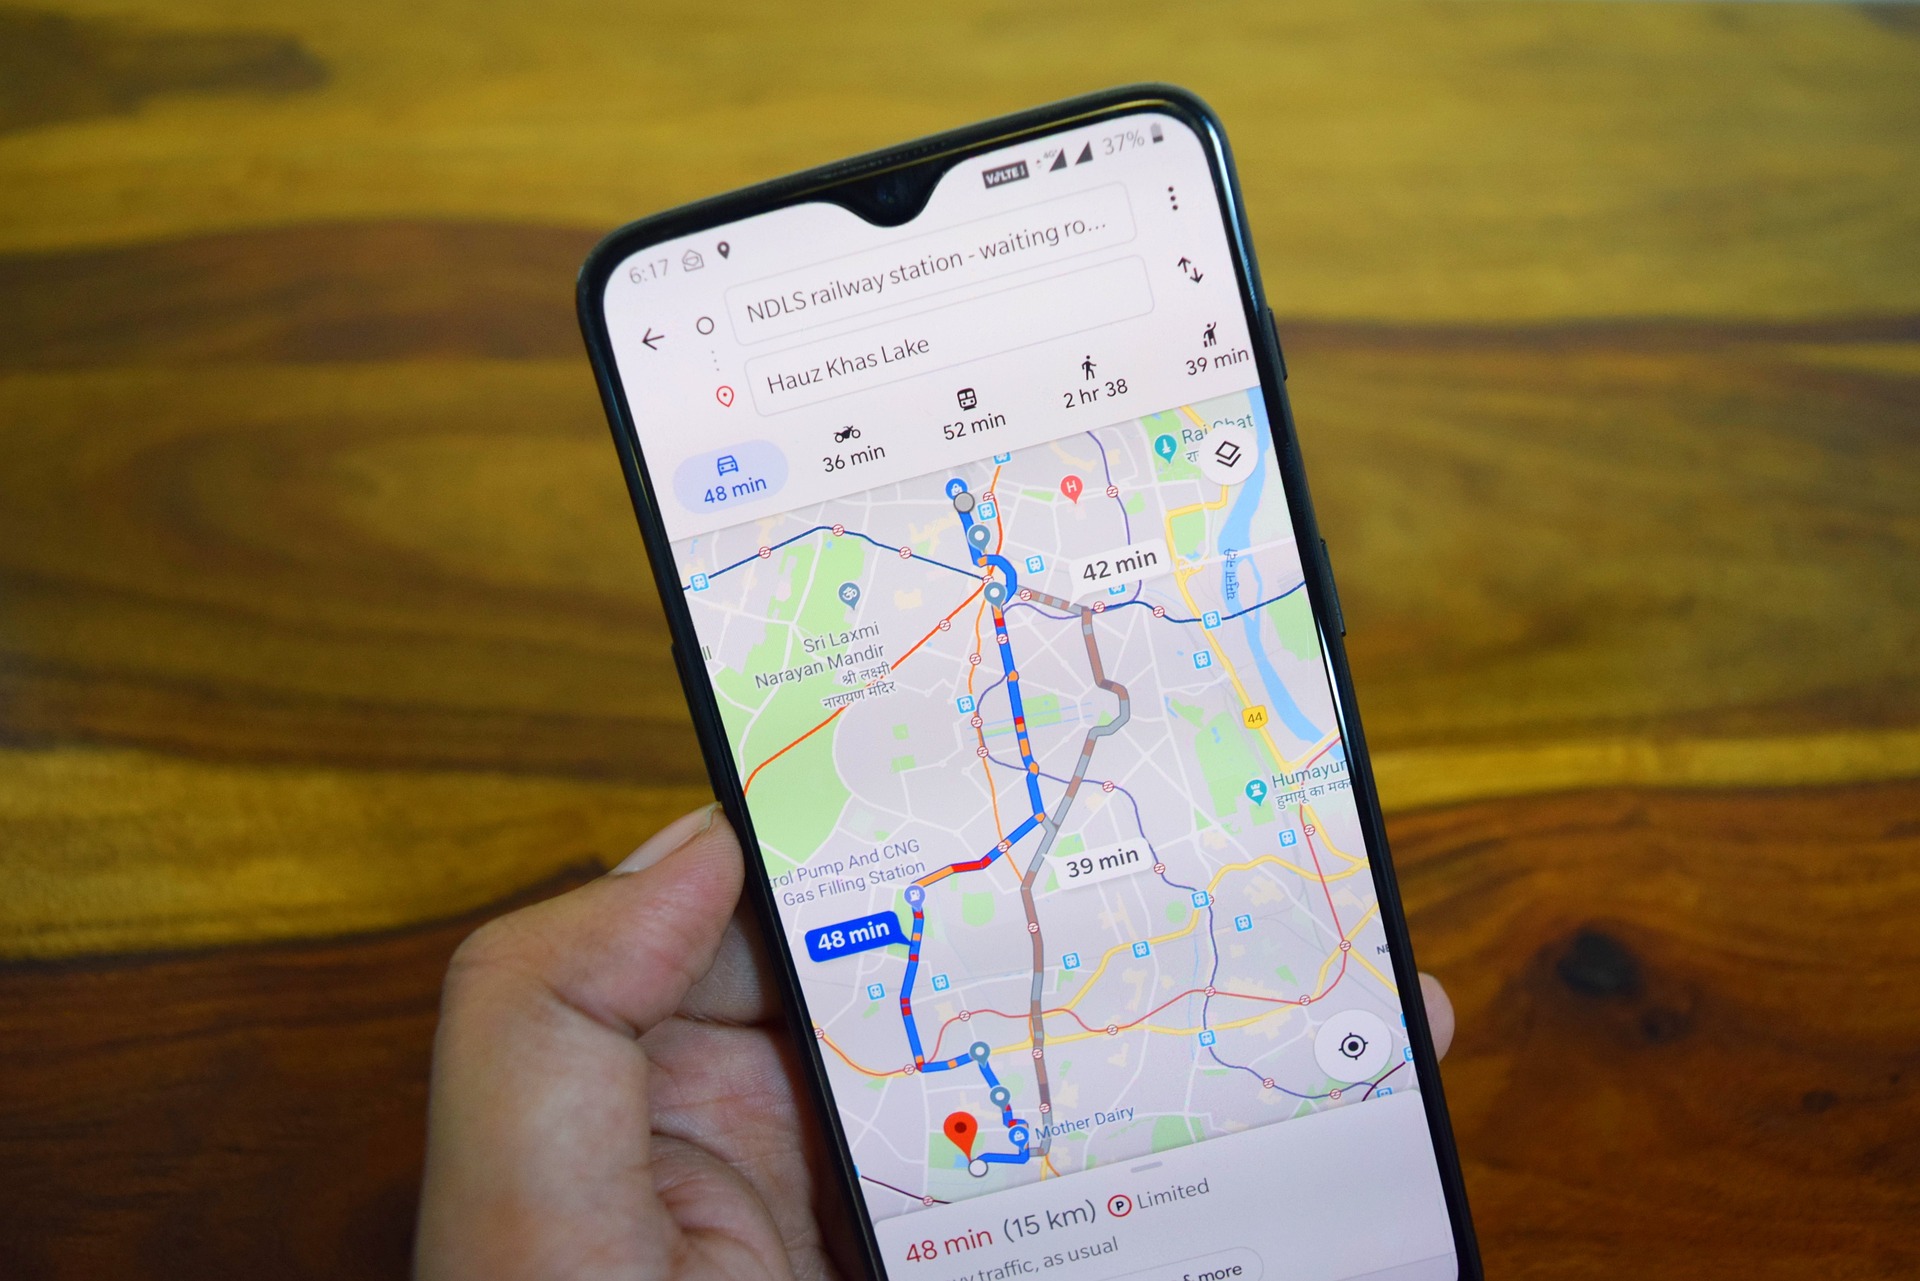
Image by Deepanker Verma from Pixabay


Leave a Reply